■Preface
It was Saturday, 2 February 2022, Final Presentation Day. Our long days of group work, countless hours of heated discussions, and long Discord meetings had paid off. We had finished a six-month-long product-making project. In this article, I would like to share with everyone what we did.
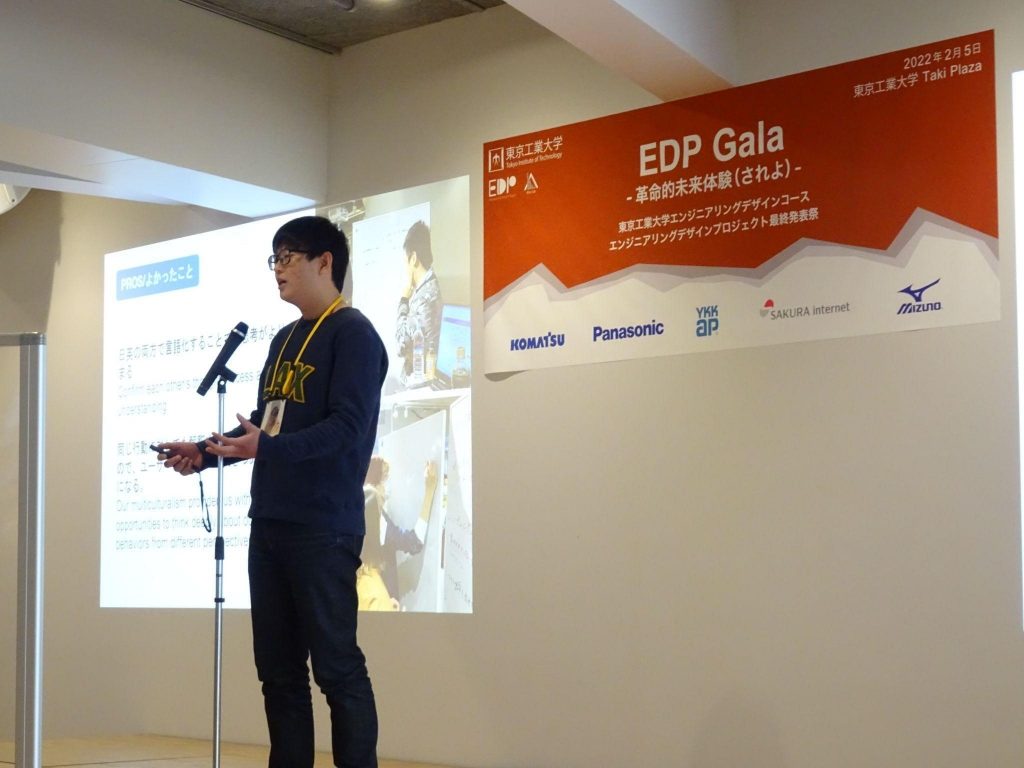
The final step of the journey
■Introduction
Most of the stuff we use daily, like our smartphones, hairdryers, belts, or watches, goes through a design process before being launched commercially. Design Thinking is one commonly used process for such a purpose. When we hear the word “Design,” we might think of architects, Adobe Illustrator, painting, or CAD software, but it is different. It is a process that we – ‘the product or solution designers’ – use to tackle problems from observing users. We conduct interviews with other people, ask about their day-to-day activities, and analyze their behavior. You might be wondering, “So what is the process like?”. Let me explain it in a story.
Part 1 – Design Thinking Fundamentals
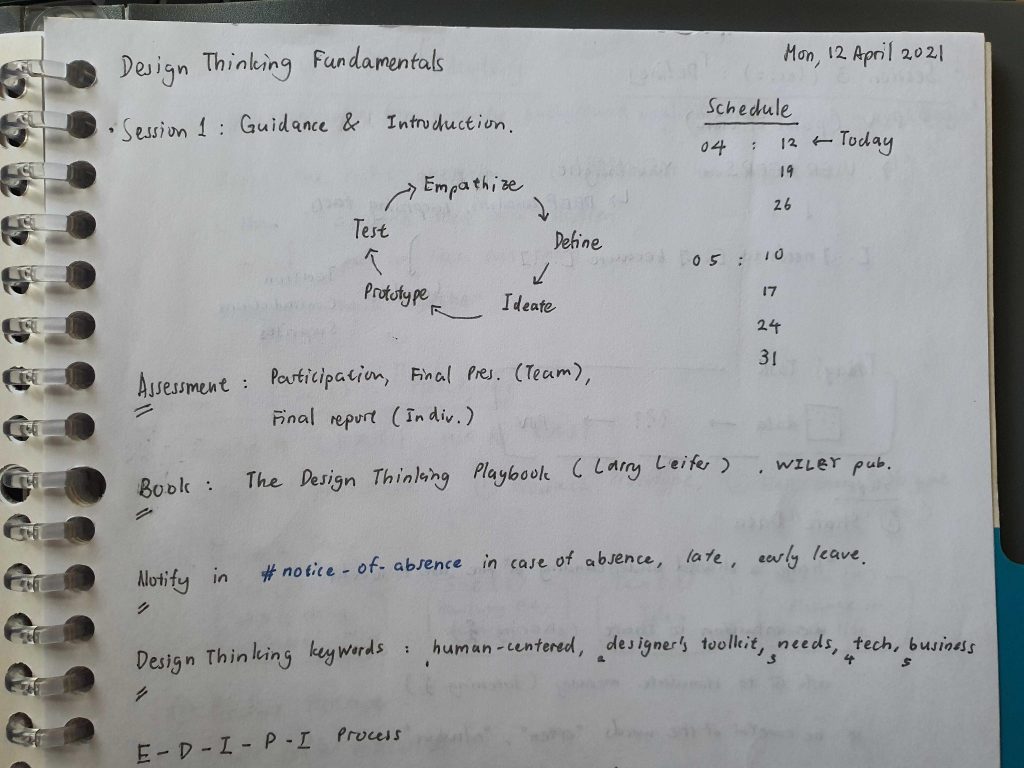
It all started way back in April 2021. Spring vacation had ended, and I was excited and anxious about starting graduate school. I had heard from my seniors that they had a rough first year. “First-year Master’s students are constantly buried in research tasks, job-hunting, but above all, there is this super busy intensive course!” they would say, which was what I had expected. I was up for a rough ride, and I had to get used to it.
The first part of the course is Design Thinking Fundamentals (DTF), which I took every Monday during the first quarter. I remember feeling very nervous as I walked into the classroom. The lights were warm-yellowish in color; many tables and chairs were filled with people I did not know. “Ugh…” my introverted side said.
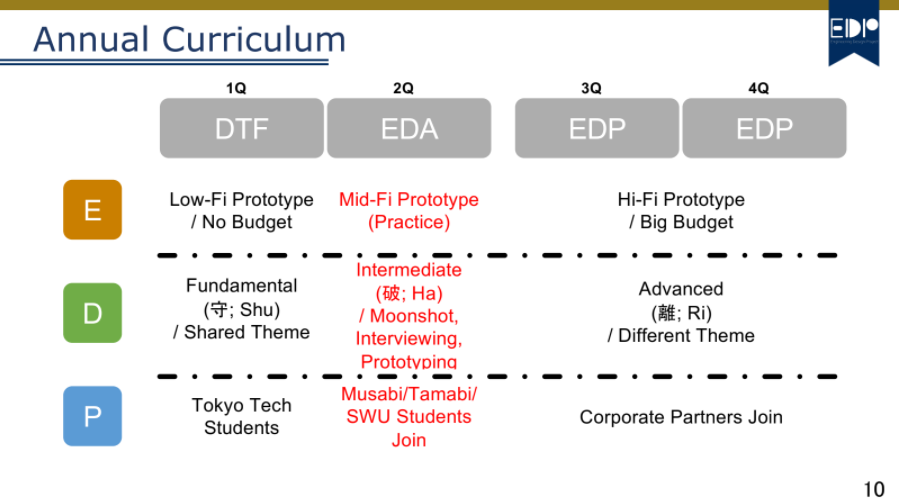
DTF serves mainly as a brief introduction to Design Thinking. We learn the fundamental five steps (which I will explain below) and understand how to use the steps through basic exercises in groups. Our exercise task was: Design an experience that can allow people to know someone else better without eating and drinking together.
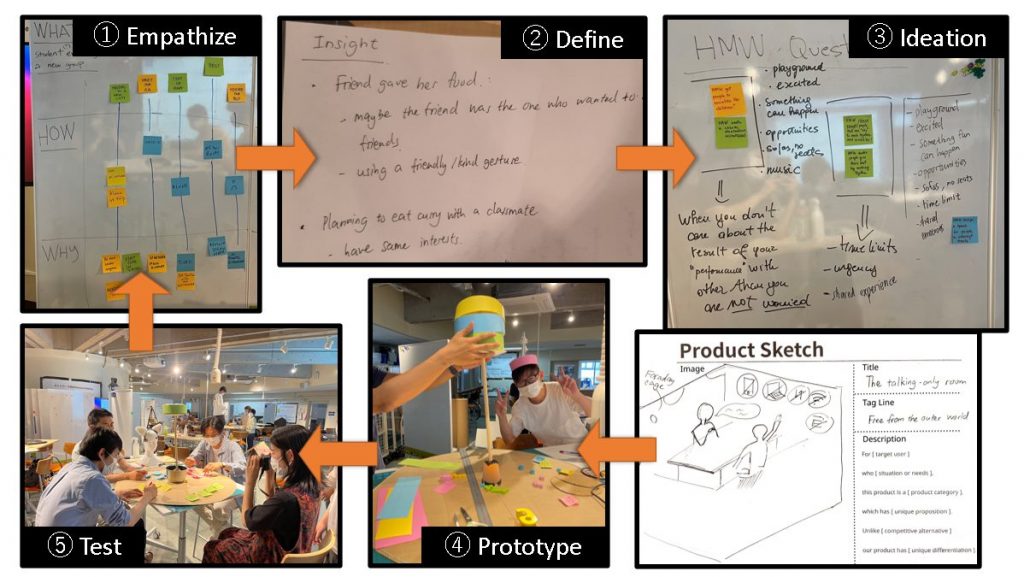
We started by looking for freshmen international students we could interview. We asked them about their experience of making new friends in university. Asking them the right questions and not leading them towards an answer is very important in this stage (①Empathize). Then, we analyzed their behavior or decisions when making friends and their reasons; this is where we come up with what design thinkers call “insight” (②Define). Insight is like a statement that reflects the user’s actual needs behind their behaviors. Here is an example: International students in Japan invite their classmates to study together somewhere on campus, like the library, because they say the homework is hard. However, maybe they are just looking for an excuse to hang out. The insight statement serves as the starting point of the following process (③Ideation).
In ideation, we first start thinking of “How might we…” questions (HWMQ). For instance, for the insight stated earlier, one HWMQ our group came up with was How might we create something that can give students an excuse to know someone else better?. These questions help designers brainstorm solutions because we can keep a clear purpose in mind. Then, we drew down our ideas on paper. “What can’t be seen does not exist,” the faculty always say. It means that we should make something tangible (④Prototype). Prototyping is a great and cheap way (cardboards, plastic, glue, etc.) to visualize our ideas. It also helps designers notice flaws and essential aspects that are not noticeable on paper, such as the size, physical shape, or weight.
Finally, once our prototype was complete, we asked users – the students we interviewed – to test our product or solution in a real-life setting (⑤Test). Usually, we have several prototypes with different characteristics and features lined up before the user. We can understand the user’s preferences and use them to improve our final product through the feedback that we get.
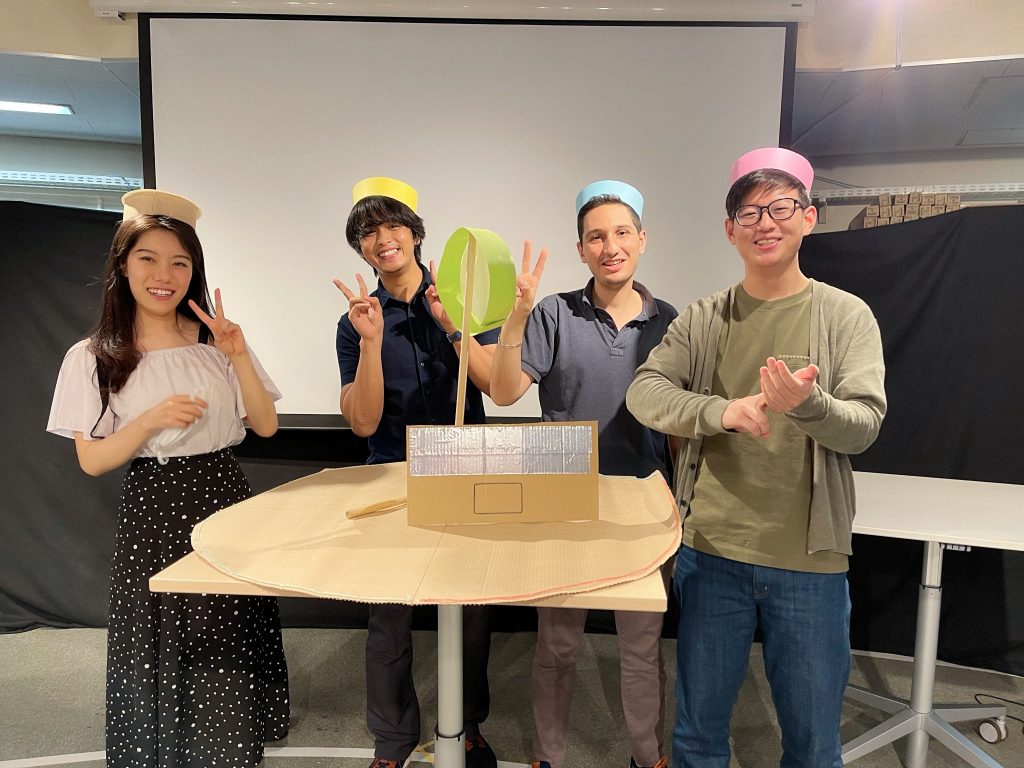
A group photo of my DTF group Team Sushi
Design Thinking was new for me, nothing like what I experienced in my undergrad studies. Though we all come from different backgrounds and have various research topics, we had fun studying and working together; this made it easy to adapt. The course ended with a product pitch from each group.
Part 2 – Engineering Design Advanced
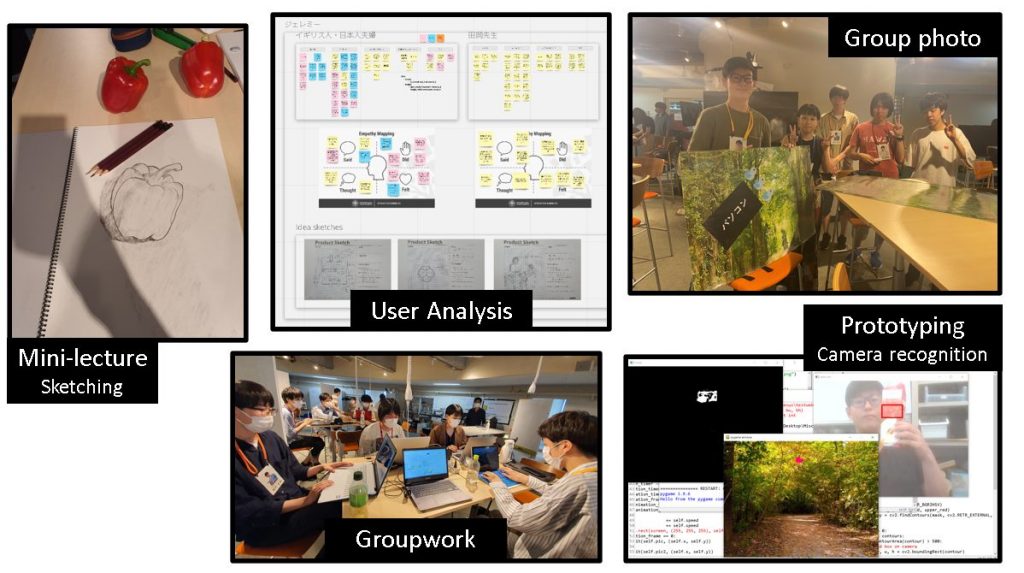
The next step of the course is Engineering Design Advanced (EDA). I remember seeing new faces in the classroom. The course organizers had specially recruited design and art students (in Japanese: 美大生) from different universities to collaborate with us engineers in Design Thinking. The class was getting more and more diverse!
EDA is level up from DTF. Now, with a limited budget of around 20,000 yen provided by the course, we could buy some materials for our prototype. Our theme for the EDA project was: Design a lunch experience for dual-earner couples working from home. To put the concept in simple terms, we have to develop a new product that would help couples during lunch.
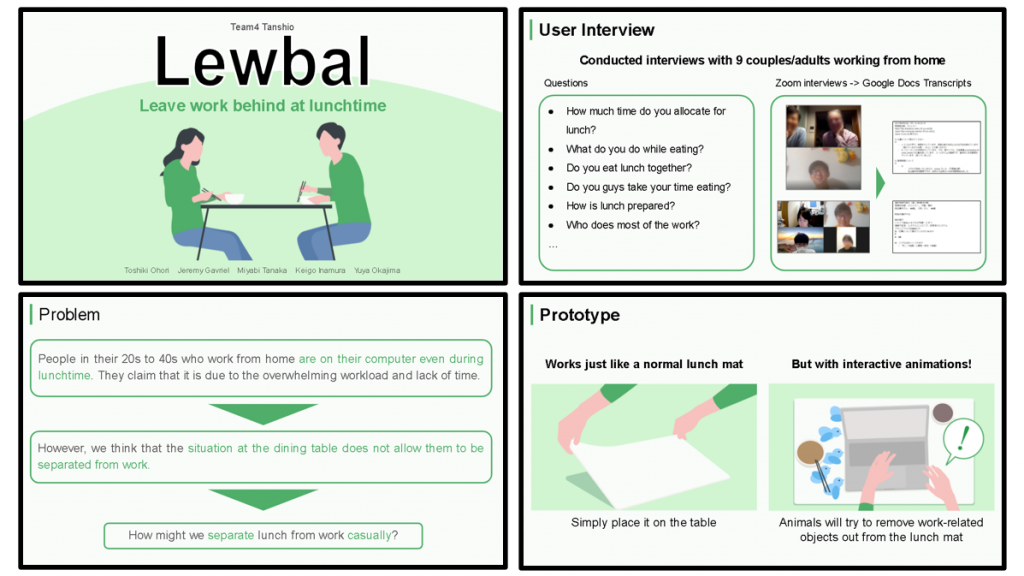
Our interviews found that couples have a hard time spending quality time during lunch because one or even both of them work while eating. They often have their laptops next to their lunch, claiming they have an overwhelming workload and lack of time. Our insight was that the situation at the lunch table does not allow them to be separated from work. Thus, we proposed this interactive lunch mat, LEWBAL, to voluntarily encourage users to remove work-related things from the lunch table.
The biggest challenge in EDA was working in an entirely Japanese group. Understanding users is an abstract process, and sharing a common understanding within the group requires good communication. There were times when my ideas and comments did not come across very well to everyone, and at those times, I wished my English could be directly translated. I realized that there are better ways of conveying my ideas to people – like drawing! Sometimes, a drawing can explain so much more than text.
Part 3 – Engineering Design Project
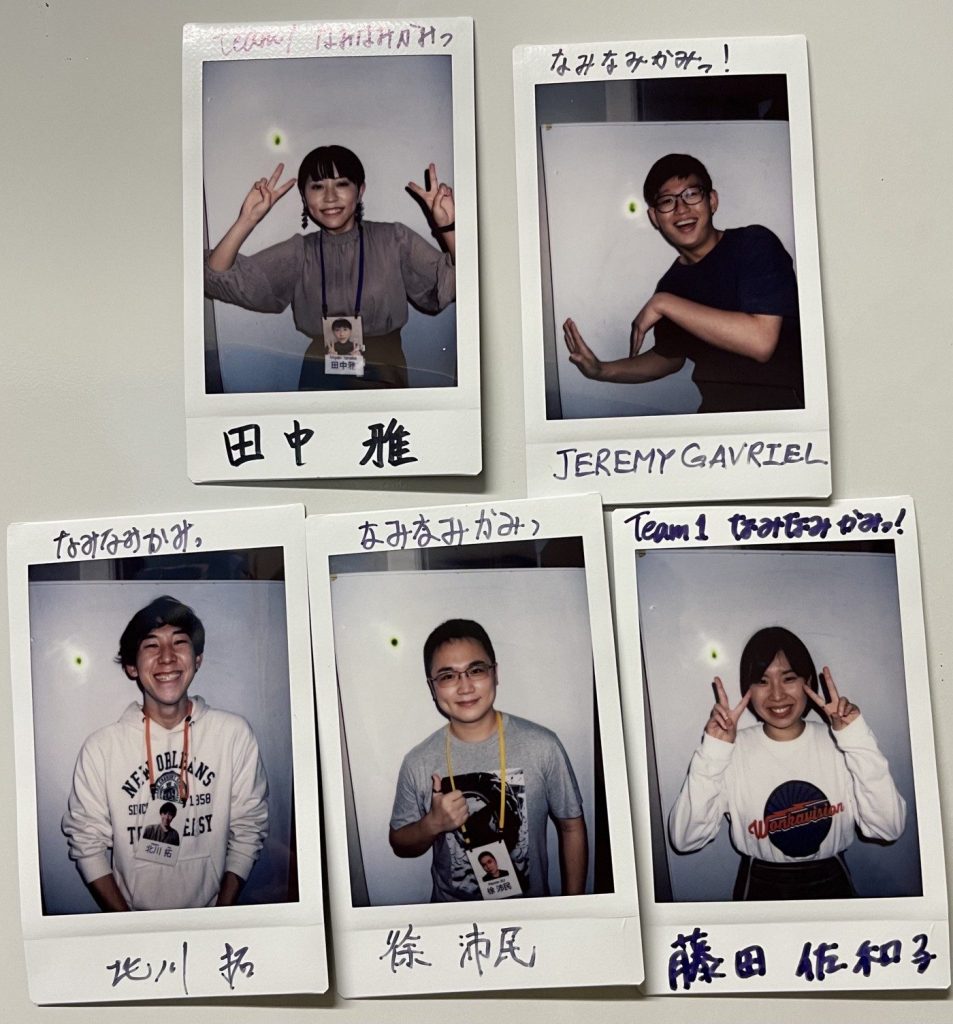
The last part of the course is the Engineering Design Project (EDP). We had nearly six months and a big budget of 200,000 JPY from corporate partners for our project. EDP is an advanced version of EDA, where each group has six months instead of two, and the final prototype has to be highly specced. Our last project theme was: Design a window experience for a healthy work-and-life balance at home.
Finding the right target user was the first big hurdle for us. Like journalists hungry for a good news scoop, we interviewed various users. We discovered teleworking problems such as background noise during online meetings and raising children while working from home. Our focus was too broad, and we felt it was going nowhere. After conducting more than two dozen interviews, things started to change when we found Mrs. O.
We found that people like Mrs. O, who has a decent home workspace such as a relaxing chair, or a fine display, have trouble focusing. Going out of the room is the only solution to rest their mood, but they end up slacking off, and the living space doesn’t motivate them to work. This living pattern eventually leads to an unhealthy work-and-life balance.
Nevertheless, coming up with a great new solution was no easy task. We had a lot of “how might we…” questions, but no idea seemed to fit the problem (or some of them already exist). Not to mention, we also had to stay on the topic of “window experience.”
“How might we change her mood?”
“How might we help her focus on working inside the room?”
“How might we help her work in the living space without slacking off?”
Time was running out. We had two months left and had made zero progress for our final prototype.
It was there that we remembered what we learned, “This product is for the user. We can’t exactly know what they want just by ourselves! We have to ask them.” Our team spirits lifted, and we immediately got to work with the prototypes. We laid down our idea sketches and voted a few to craft.
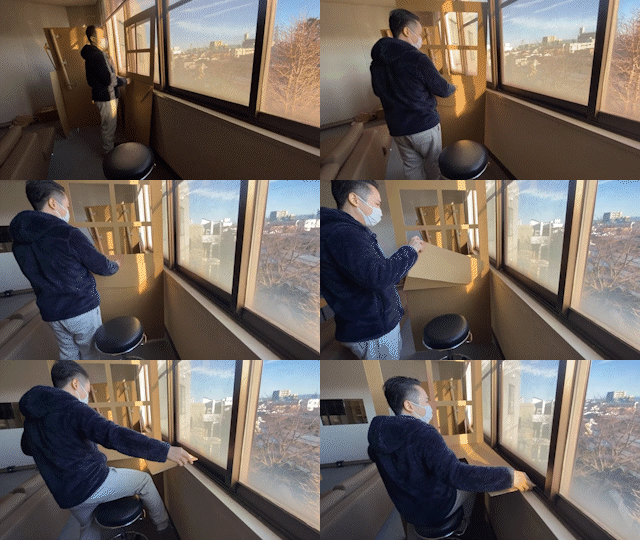
Our user test with Mrs. O turned out to be a success! She had liked one of our prototypes, the folding window table. This prototype was the starting point for our final product. The idea was great, and all that was left was to think about the details: the size of the table, method of height adjustment, material, etc. Trial-and-error, trial-and-error.
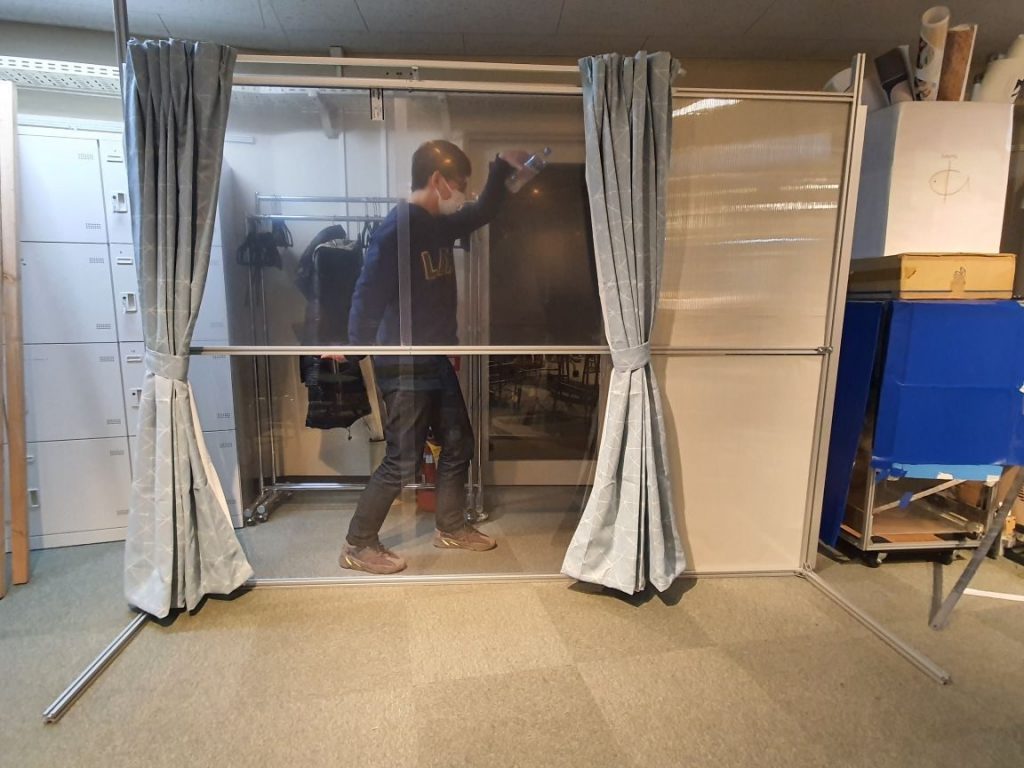
Assembling them was more complicated than I thought.
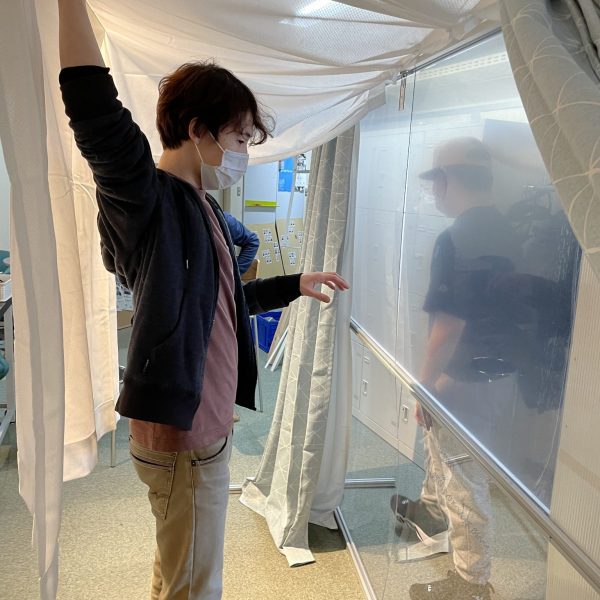
That’s a short story of my EDP experience. It was a long ride, but we stuck together to the end and finished the project with a blast!
P.S. Our group has specially made a separate blog summarizing our activities for EDP: https://medium.com/titech-eng-and-design/edp-2021-w1nk-by-team-naminamikami-7f3cb330d39c.
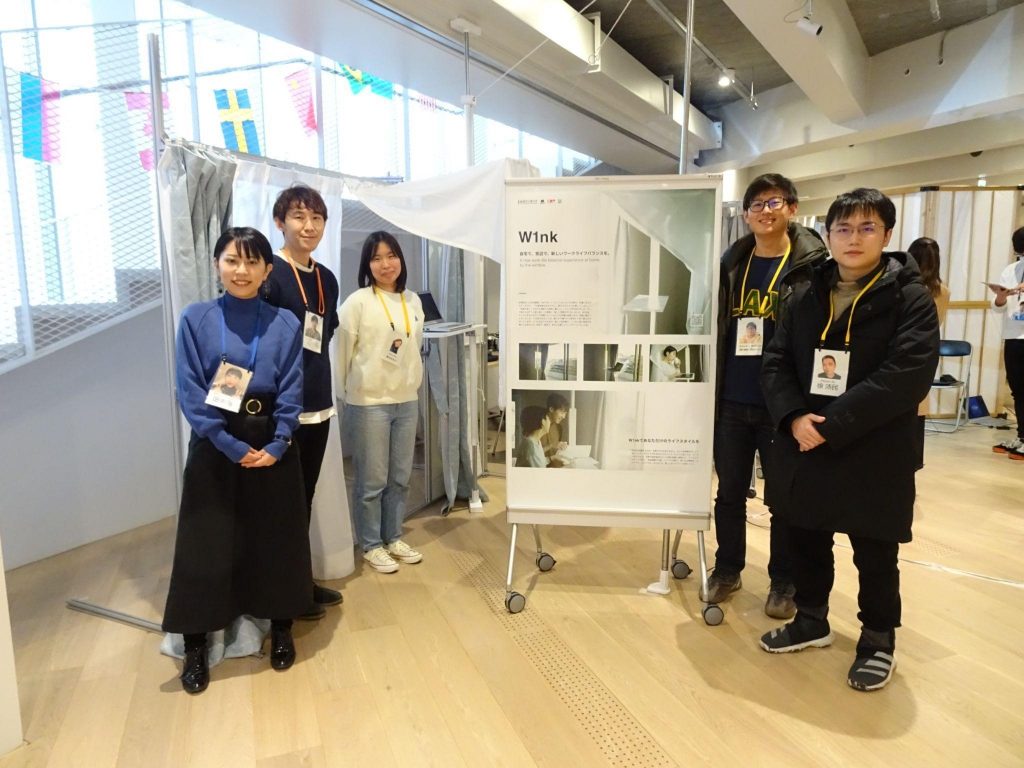
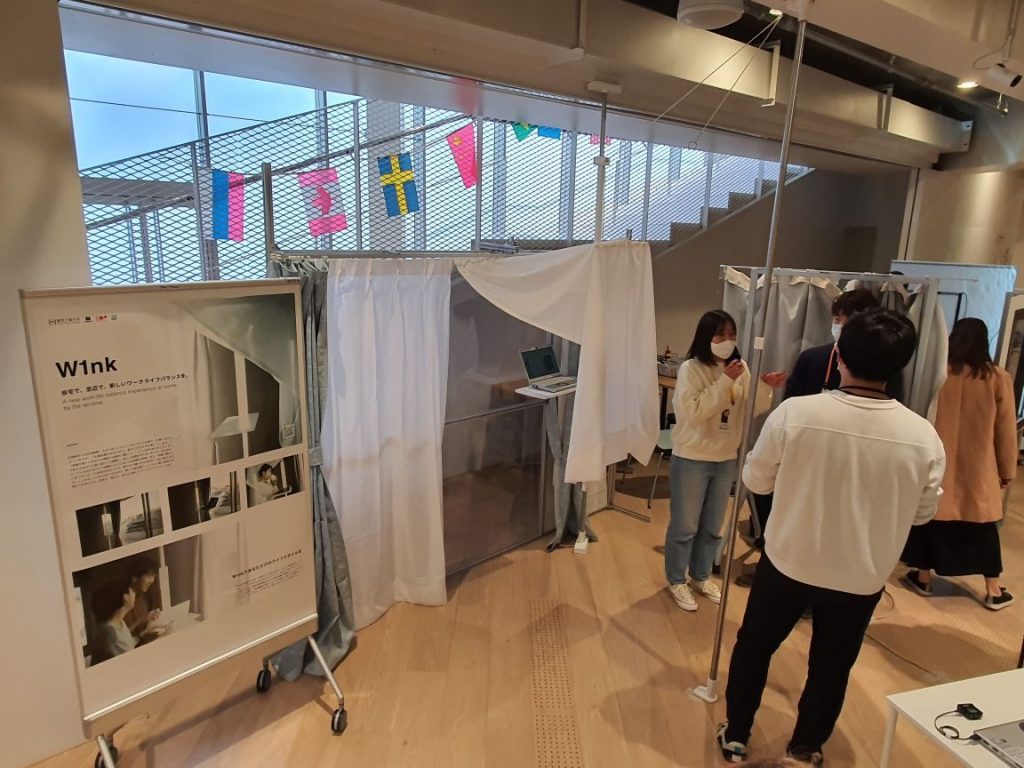
Message
Tokyo Tech’s Engineering Science and Design (ESD) course is where Master’s students can proactively study Design Thinking through project-based learning. There’s no better way to spend graduate school than a good team project. It is no doubt my ideal course at Tokyo Tech.
Come and join us!
For more information, please have a look at the following links.
ESD course website: http://www.esd.titech.ac.jp/en/
ESD course medium page: https://medium.com/titech-eng-and-design
